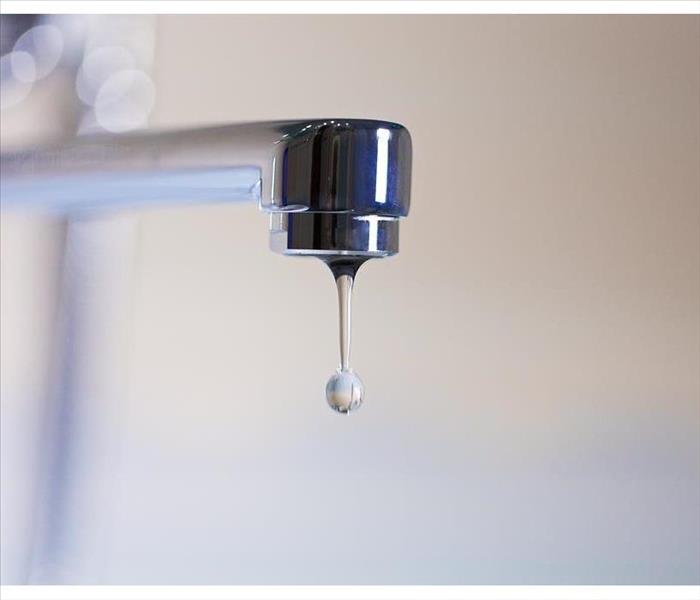
4 Steps To Fix a Leaky Faucet
10/2/2022 (Permalink)
Fixing a Leaky Faucet: 4 Steps
While there are some home repair projects that Chandler, AZ, homeowners should leave to professionals, there are many projects that homeowners can do on their own. One job that is easy for people to perform is replacing a leaking faucet. Here are some steps to help you successfully accomplish this project.
1. Shut Off Water
The first step is to shut off the water. Look underneath the sink to locate the pipe that has a football-shaped valve on it. You can turn the water off by turning the valve clockwise until it won’t turn anymore. Once you’ve turned off the water, turn the handles and allow any remaining water to drip out before starting the repair.
2. Prepare for Repair
Before you start taking the leaking faucet apart, place a plug into the sink hole or put a rag over the top. This will prevent loose parts from going down the drain. Tape the jaws of your wrench with some duct tape to prevent scratches to the fixture. Finally, have a soft scrubbing pad and some distilled white vinegar nearby to clean off mineral deposits on the dripping faucet parts.
3. Determine the Type of Faucet
There are four types of faucets including compression, cartridge, ceramic disk and ball. The compression faucet is easiest to identify because it has separate handles for hot and cold water. The other three types of faucets can be identified as you begin taking the faucet apart: you will either see a cartridge, ceramic disk or ball bearing.
4. Perform Repair
Each type of faucet requires a few detailed steps. Fortunately, you can search the internet for detailed instructions and videos to help you perform the repair. As you’re taking apart the leaking faucet, place each part down on a designated spot in order of removal. This will help you replace each part correctly.
A fixed leak is a satisfying home repair project. If you have any issues with flooding, water damage repair specialists can help clean up your home.


 24/7 Emergency Service
